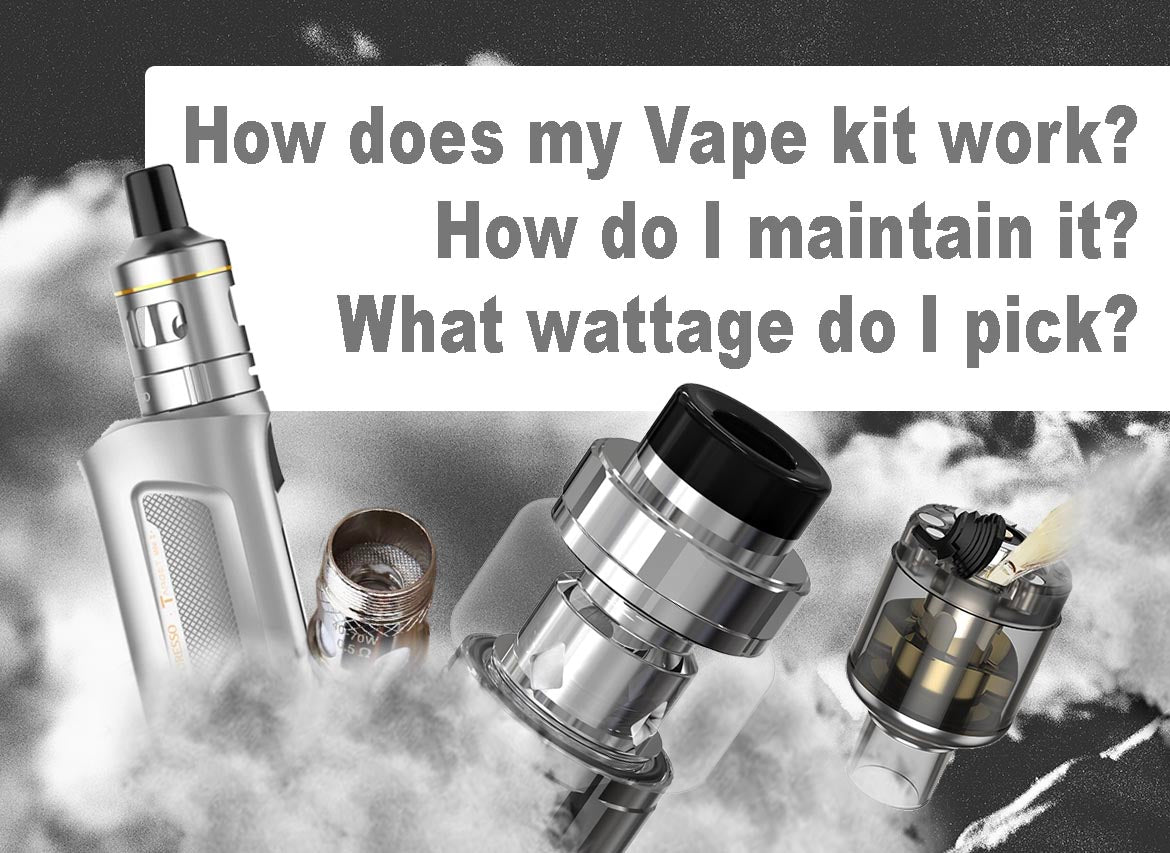
How Do I Use My Vape Kit? How do E-Cigarettes work?
First of all, congratulations for getting yourself a new Vaping device! This could be because you’re quitting smoking for the first time or maybe you’re moving from a pre-filled pod device such as a Vype or Juul.
You may be wondering how Vapour is created from your device and how vaping starter kits work.
How is Vapour Made?
E-Liquid is turned into a Vapour in which you inhale and exhale through your lungs to absorb nicotine into your bloodstream.
This is made via a Coil which has Cotton wrapped around it. The cotton is saturated by your chosen E-Liquid.
The premise is identical in all vaping devices, from pre-filled pods to huge cloud producing tanks to rebuildable vaping setups. Your coil is found inside your vape tank which should be full of e-liquid.
When do I replace my coil?
The coil only has a limited amount of usage before it’s time to change it.
This could be due to the cotton wrapped around your coil becoming dry and burning, this happens if there’s not enough E-liquid reaching your coil by the time you’ve applied power to the coil. It also occurs when your coil has been overused and simply reached the end of its function.
You should replace your coil once you’ve noticed a significant lack of flavour or replace your coil immediately if you taste a burnt flavour coming from your coil.
It’s important to do this as we don’t want to burn anything at all as burnt cotton will be bad for your health. The best vaping experience is with a freshly changed coil.
How is my Vape tank powered?
The function of your device is powered via a battery. The battery is found inside your device which is also known as a Vaping Mod. There’s a huge variety of Mods out there, some have built-in batteries such as the Target Mini 2 by Vaporesso and some have external batteries such as the Drag X by Voopoo. Rechargeable, removable vape batteries are beneficial since it’s quick to change out a battery on the go,but we recommend in-built batteries for beginner vapers since battery safety is a crucial part of vaping and is often overlooked when picking your first device.

What about Coil types and Wattage? Does it matter what coil I pick and how do I set my wattage?
Picking your wattage and coil is an important part of vaping and enjoying your experience.
The aim is to match your wattage to the requirement of your coil, e-liquid and experience you desire.
If your device has a screen and buttons on it, it’s a strong indicator that this will require the user to set the wattage. It may seem daunting at the beginning, but don’t worry as with these easy tips, you’ll be vaping successfully and enjoyably in no time at all. Variable Wattage is the name of the mode needed to adjust your coil, most devices have this set to the primary function, so if you’re holding the up/down button on your device and the number is changing with Watts next to the number, then you’re in the right place. If your wattage is locked or this isn't working then refer to the manual of your device to see how to change the wattage of your device.
The wattage you pick depends three easy to identify variables,
- The coil in your tank,
- The ejuice you’ve picked,
- Personal preference.
And in turn,
The coil you pick depends on three easy to identify variables,
- The tank itself,
- The ejuice you’ve picked,
- Personal preference.
Every prebuilt coil or refillable pod will have a recommended Wattage range either on the coil itself or the box it comes with, this is the first indicator to know where to set your wattage and what e-liquid is ideal for that coil. (Click here to read our blog which covers how to pick your first e-liquid)
Some coils are recommended for thick e-liquid and some coils are recommended for thin e-liquid. If your coil is a 1.8ohm coil and the wattage range on the coil is 7-15 watts for example, then you’re likely going to be using thinner e-liquid such 50% VG / 50% PG e-liquid. This will produce smaller amounts of vapour which results to an enjoyable mouth to lung experience.
If your coil is a 0.2 ohm coil, this is a sub-ohm coil and it may say on the coil to pick your wattage between 40-60 watts for example. This will be for thicker e-liquid such as 70% VG / 30% PG and will produce larger clouds,
Fresh Coil Tips
When fitting your new coil, it’s a good idea to drip a few drops of your ejuice directly onto the coil and cotton inside the coil housing before filling up your tank, it’s best to allow 5+ minutes for the cotton to saturate with your fresh e-liquid to avoid firing your device before it’s fully saturated.
When first using your fresh coil, it’s also a great method to power your new coil at half of the recommended minimum wattage and increase slowly from there to avoid burning your coil too soon.

How can I clean my device?
Depending on what Vape tank you’ve recently picked up, there will be different maintenance tips needed to keep your machine running well for potentially years to come!
Let’s break down a device from top to bottom.
Right at the very top, we’ve got your mouthpiece which is also known in the vaping world as a Drip Tip. This will be the unit which makes contact with your lips so it’s important to keep this clean and free of any debris which might have collected in your pocket.
It’s important to clean this due to the condensation which builds there can harbour bacteria (like all damp areas which see the pass through of vapour.)
You can clean this by removing the drip-tip and running cold water through it to remove any obvious debris. Then let it soak in warm water and give it a good rinse after. Be careful with cleaners and alcohol as that can sometimes ruin a drip-tip depending on what it’s made up from.
Some Drip-Tips will be stainless steel like on the Aspire K3 and some will be plastic like the Aspire Tigon.
Next will be your tank, to clean this thoroughly, it is best to completely drain your tank of ejuice and be ready for a coil change. Most tanks will allow you to unscrew each piece to allow for a more in-depth clean.
Help, My Tank is stuck on my Device!
If it’s been a while since you’ve removed your tank from your device and it is stiff, don’t panic as it can happen occasionally due to e-liquid build up.
To remove your stiff tank there’s a few different methods.
Tools like the Coil Master Ceramic Vape Tweezers have a handy grip on the back specifically designed to grip tanks with the diameter 22-25mm which works fantastically.
If you don’t have these to hand, a method to take stiff tanks apart manually could be using rubber gloves to provide additional grip and alternatively wrapping rubber bands tightly around selected parts of your tank which allows for more grip in those tighter areas.
Next, run water over each piece of the tank to remove any extra debris. If your tank is of a metal build, you can scrub it using high-proof and non flavoured high percentage alcohol.
Simply scrub your tank to remove any e-liquid build up until it is completely clean.
Then wipe and rinse the tank with warm water and let it dry for 10-15 minutes before reassembling your tank.
Now your tank is clean, let’s focus on your vaping device.
Your Mod has likely been in your pocket, your bag and on desks are other areas which could contain bacteria. Since this device will be raised to face level regularly, it’s a good idea to give this clean with antibacterial wipes, avoiding any USB ports or open areas.
Wipe the connections on your device in case e-liquid has leaked onto the 510 connection base.
Remove your batteries from the device (if your device has removable batteries) and with a cloth wipe down the internals of your device before replacing your batteries back in and reassembling the battery door back on.
Now your tank is clean and it’s ready for use again and you can get back to your Vaping journey!
If you have any questions and need help with any of these factors, we encourage you to message us on the live chat on our website, give one of our branches a call or simply email us at
web.shop@londonvapehouse.com
Leave a comment
Your email address will not be published.